

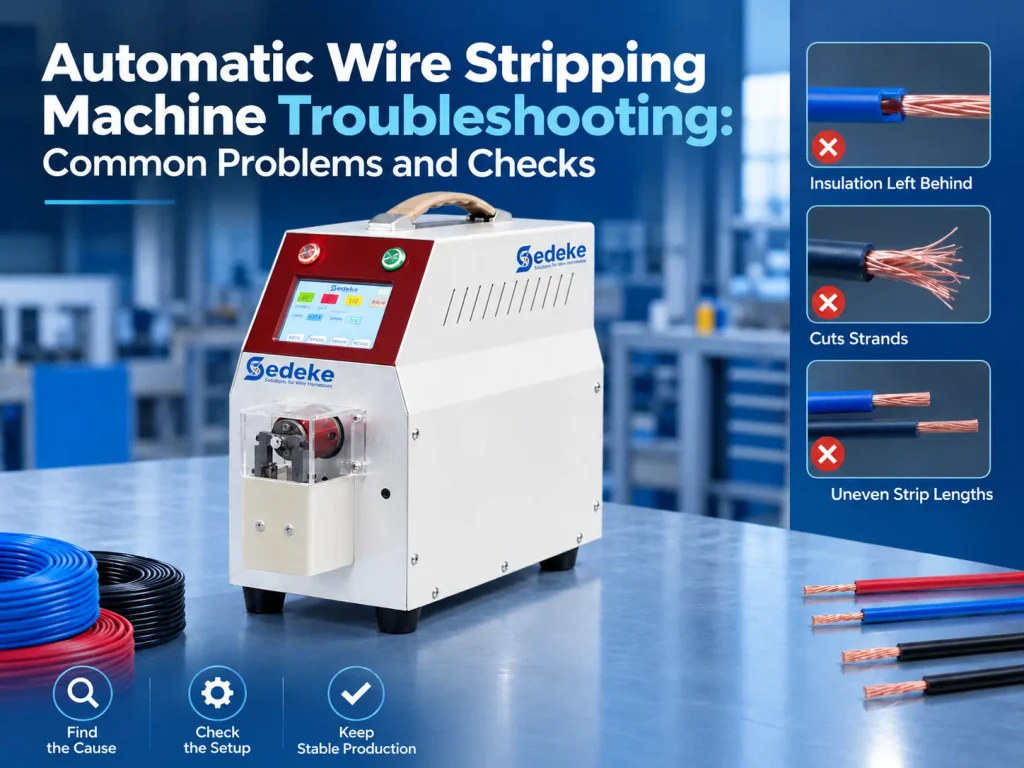
When your automatic wire stripping machine leaves insulation behind, cuts strands or produces uneven strip lengths, changing several settings at once makes the fault harder to trace. Start by identifying the defect, comparing the current job with the last accepted setup, and checking whether the problem affects one wire end or both.
This guide covers conventional wire-end stripping and automatic cut-and-strip work for wire assembly. It is not a setup procedure for scrap-cable recycling, laser stripping or specialized shield processing. Your machine manual and the acceptance requirements for your wire and terminal take priority.
Before You Adjust the Machine
Stop the job and separate suspect output from accepted parts. Keep an example of the defect, the job settings and, if available, a previously accepted sample.
Before you reach into the blade area, clear a jam or work on feeding components, have an authorized person follow your site’s hazardous-energy isolation procedure. A stop button is not an energy-isolation device. OSHA’s hazardous-energy guidance explains why servicing requires more than stopping normal operation.
Make adjustment trials only through the manufacturer’s approved procedure, with guards and safety functions in place. Do not bypass an interlock to watch the wire more closely.
Match the Symptom to the First Check
Use this table to choose where to investigate, not to assume a confirmed cause.
| What you see | Check first | What to record |
|---|---|---|
| Uneven exposed conductor length | Cut length versus strip length; which end is affected | Measurements from consecutive pieces |
| Insulation remains on the end | Full-strip or partial-strip mode; cut versus pull-off result | Close-up of the remaining insulation |
| Nicked or missing strands | Tooling, wire centering and the approved incision setting | Damage location and wire specification |
| Wire slips, skews or shows feed marks | Reel payout, guides and approved feed-pressure setup | Whether cut length changes too |
| Wire jams or scrap accumulates | Obstruction location and waste-disposal path | Where the jam starts |
| Machine stops intermittently | Alarm message and the point in the cycle | Alarm text, job and recent changes |
1. Stripping Length Is Inconsistent
First, distinguish the length of the cut wire from the length of exposed conductor. Measure both. If total cut length also varies, investigate wire delivery and feeding as well as the strip program. If cut length is stable but one stripped end varies, focus your comparison on that end’s settings and result.
Check that you loaded the intended job. Compare the front and rear strip settings separately, including whether either end is programmed for partial stripping. A retained insulation slug may be intentional in partial-strip work.
Review what changed since the last accepted run: a different wire reel, a new guide, replacement tooling or an edited recipe. Inspect the payout path for snags and the guides for incorrect routing. Follow the manual when checking feed components; do not increase pressure simply because the measured length is wrong.
After an approved correction, measure a trial sequence. If variation remains, send the measurements with the settings to technical support. “Recalibrate the machine” is not a useful first instruction unless the machine’s prescribed checks establish a calibration issue.
2. Insulation Is Not Fully Removed
Look closely at the insulation left on the wire. Has it been cut but not pulled away, or is part of it still uncut? Also confirm that the job calls for full removal.
These observations matter because incision and pull-off are different parts of the stripping cycle. Closing the blades further may not address a slug that has already been cut but remains attached during removal.
Check the wire construction against the tooling and job specification. Then use the model manual to identify the relevant setting. Do not transfer a value from another machine: a control labelled “diameter” does not mean the same thing as a penetration-depth control.
Change one approved parameter at a time and inspect the conductor as well as the insulation. A cleaner-looking strip is not an improvement if it introduces strand damage.
3. The Blades Nick or Cut the Conductor
Stop producing parts when you find nicked, scraped or cut strands. Hold the affected output for quality review rather than accepting it because the insulation has come off neatly.
Check whether the damage appears on the same side of each wire or varies between samples. Record that pattern before making changes. It gives your technician something more useful than “the machine strips badly.”
Under the required isolation procedure, qualified personnel should check tool condition, correct installation and wire centering against the machine instructions. Confirm that the tooling suits the actual conductor and insulation construction. Do not hand-sharpen blades as a general troubleshooting step.
The TE Connectivity application specification for cluster block contacts explicitly cautions against scraping, nicking or cutting stranded conductors during stripping. Use the acceptance specification for your own assembly; this TE document does not establish universal limits for every terminal.
4. The Wire Slips, Skews or Develops Feed Marks
Start outside the cutting area. Check how the wire leaves the reel, passes through the guides and enters the machine. A feeding problem should not automatically become a blade-setting change.
Compare the current wire with the material used for the accepted setup. Check its outside diameter, insulation type and construction, not only its nominal conductor cross-section.
More feed pressure is not a universal solution. Review the approved pressure setting and inspect the feeding surfaces using the cleaning method specified by the manufacturer. If marks persist, keep marked and unmarked samples for comparison rather than continuing to raise pressure.
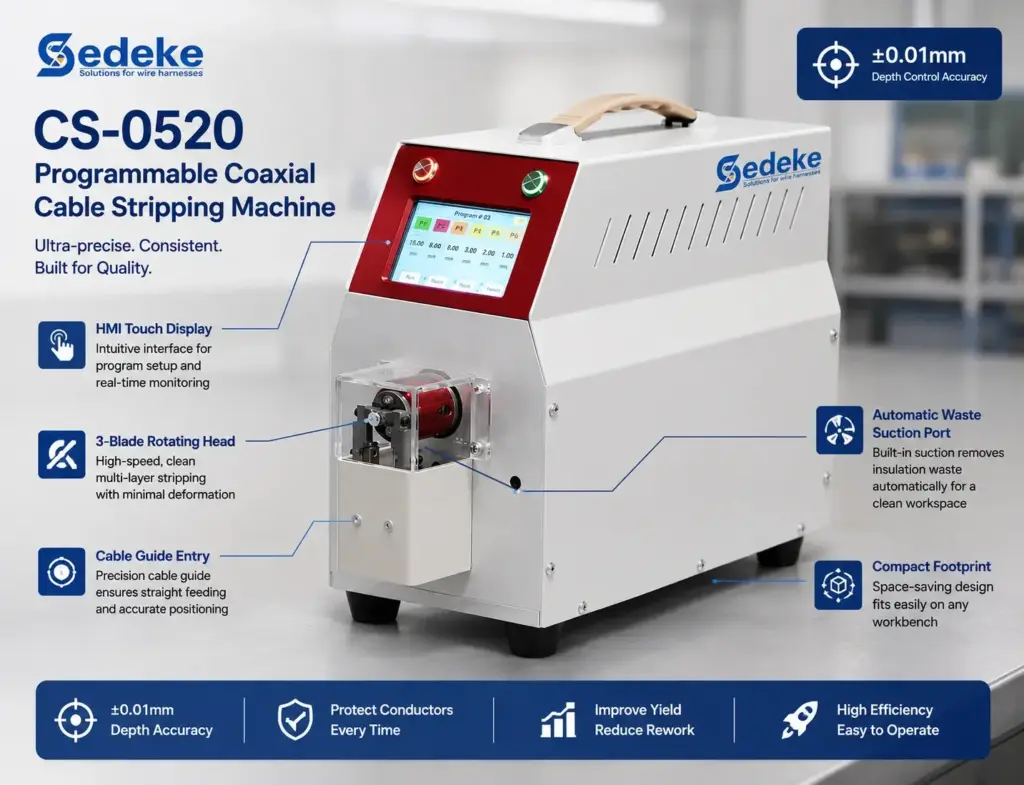
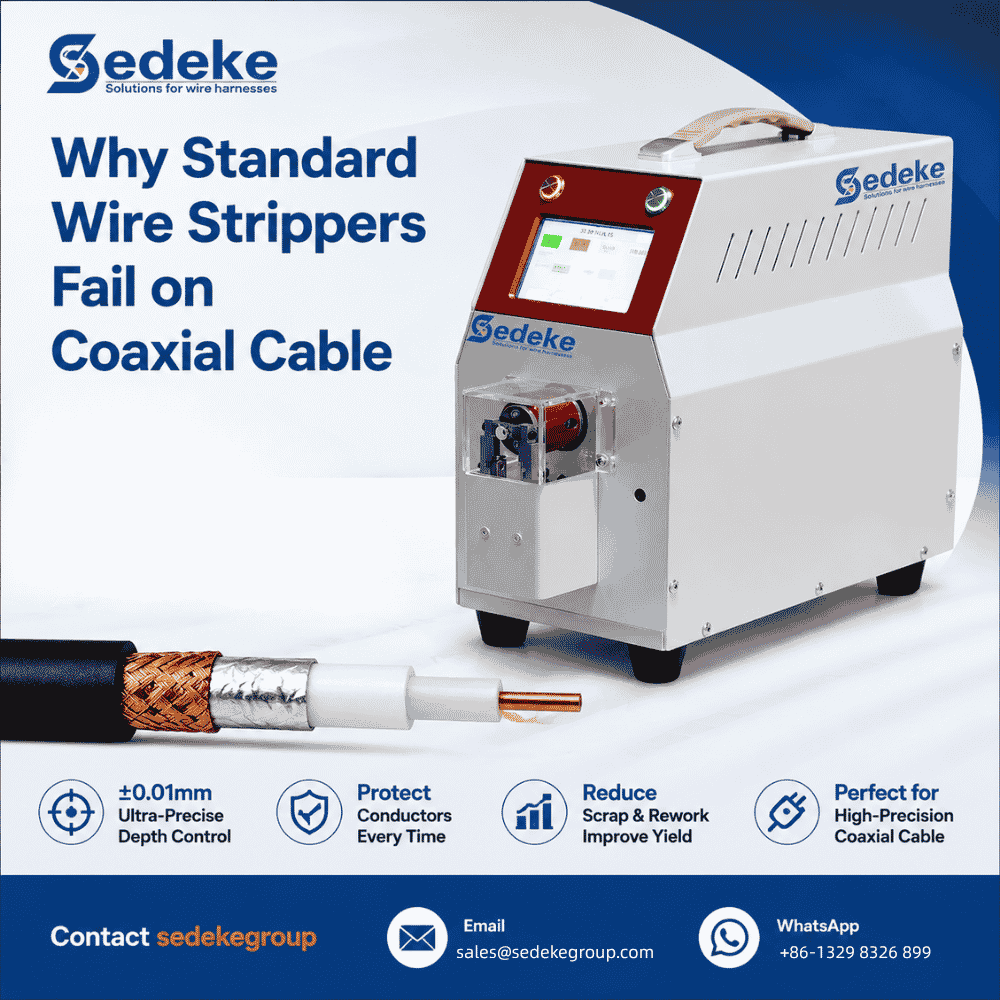
Feed design also matters when you evaluate a different machine. Sedeke’s ESC-BX30 automatic cutting and stripping machine uses belt feeding. Its product page also calls for sample-wire testing for special cable requirements. If you are processing a new cable construction, ask Sedeke to check the actual sample before requesting a configuration quote.
5. The Machine Jams or Insulation Scrap Builds Up
Record where the blockage occurs: at the inlet, near the stripping area or along the waste path. Isolate the machine before accessing the obstruction.
Remove scrap and clean only as the manual permits. Check for an obstructed waste path, incorrect routing or a component that was not restored correctly after maintenance. Do not reach into a stopped machine without completing the required isolation procedure.
A speed reduction can be part of an approved diagnostic trial, but it does not prove that the obstruction has been resolved. If the jam returns, stop repeated restart attempts and escalate with the location and operating conditions recorded.
6. The Machine Stops Intermittently or Runs Unevenly
Write down the exact alarm text before resetting anything. Note whether the stop happens during feeding, cutting, stripping or discharge, and whether it began after a material or job change.
Check operator-visible status information and the manual’s response to that alarm. Do not open an electrical cabinet, bypass a safety device or attempt an electrical repair as a general operator check.
If the alarm recurs after the permitted checks, stop and involve qualified service personnel. Include the machine model, serial number, job settings and alarm history when you contact them.
Verify the Result Before Returning to Production
One acceptable wire is not enough to establish that an intermittent fault has disappeared. Use the sampling quantity and acceptance criteria defined by your quality procedure.
For the trial run, check total cut length, strip length at both ends, conductor condition and any remaining insulation. Inspect for feed marks too. If the wire will be terminated, confirm that the prepared end meets the requirements for that terminal and subsequent process.
Record the adjustment and the inspection result. Keep the previous settings so your technician can compare what changed. Resume production only after the responsible person accepts the result under your site procedure.
Get Sedeke Support or a Configuration Quote
If the fault keeps returning, contact Sedeke with your machine model, wire specification, required cut and strip lengths, and clear photos of the defect. Add the alarm message or measurements where relevant. Take any operating video from outside the guarded area.
For an existing machine, ask about the appropriate troubleshooting support and, where needed, replacement tooling or parts. For a new wire application, request sample testing and a quotation for a suitable automatic cut-and-strip configuration.
You can contact Sedeke to discuss the next step. Describe the problem you need to solve before choosing another machine; a recurring defect alone does not establish that replacement is necessary.
FAQ
Why does the same wire strip correctly at one end but not the other?
Compare the front and rear settings and confirm the intended full-strip or partial-strip result for each end. Measure both ends on several pieces. An end-specific pattern helps you narrow the investigation, but it does not by itself identify the faulty component.
Should I reduce the speed whenever stripping quality drops?
Only as an approved trial when it helps investigate the symptom. Record the result. Lower speed does not confirm that tooling, alignment or material suitability is correct, and it is not a reason to accept damaged conductors.
Can I reuse the same settings for wires with the same cross-section?
Do not assume so. Compare insulation construction, outside diameter and the actual stripping result. Treat a changed wire specification as a setup-verification task even when the nominal conductor area is unchanged.
Is insulation left on the end always a stripping defect?
No. Partial stripping deliberately leaves insulation on the end. Check the job requirement first. In a full-strip job, retained insulation needs investigation before you accept the part.
What information helps Sedeke quote suitable tooling or equipment?
Provide the wire specification and a sample if requested, the required cut and strip lengths, the intended process and your output requirement. For replacement parts, include the existing model and serial number. Ask Sedeke to confirm compatibility and the proposed configuration in its quotation.